SIEM Integration: SPLUNK Integration
Written By XavierBe
Last updated 12 months ago
How to ingest Lupovis Snare Threat Intelligence into Splunk using the existing APIs. Although there are other existing extensions that can be used to integrate APIs into Splunk, many of these are expensive, as such the focus will be doing this via 2 API calls, once to download the data from Lupovis and one to ingest it into Splunk.
Installation
Download Lupovis threat data
Reformat data to be Splunk compliant
Upload data to Splunk
Automate (via crontab)
Depending on your setup, this process can run directly on a Splunk server, on an external host with access to both Splunk and the Lupovis API, or as a scripted input within Splunk. For this guide, we will demonstrate using an external host, although the same approach can be adapted to the other deployment options.
Creating Splunk Ingestion Key
In order to upload the data, first a key has to be created, below are the steps to carry this out:
Log into Splunk
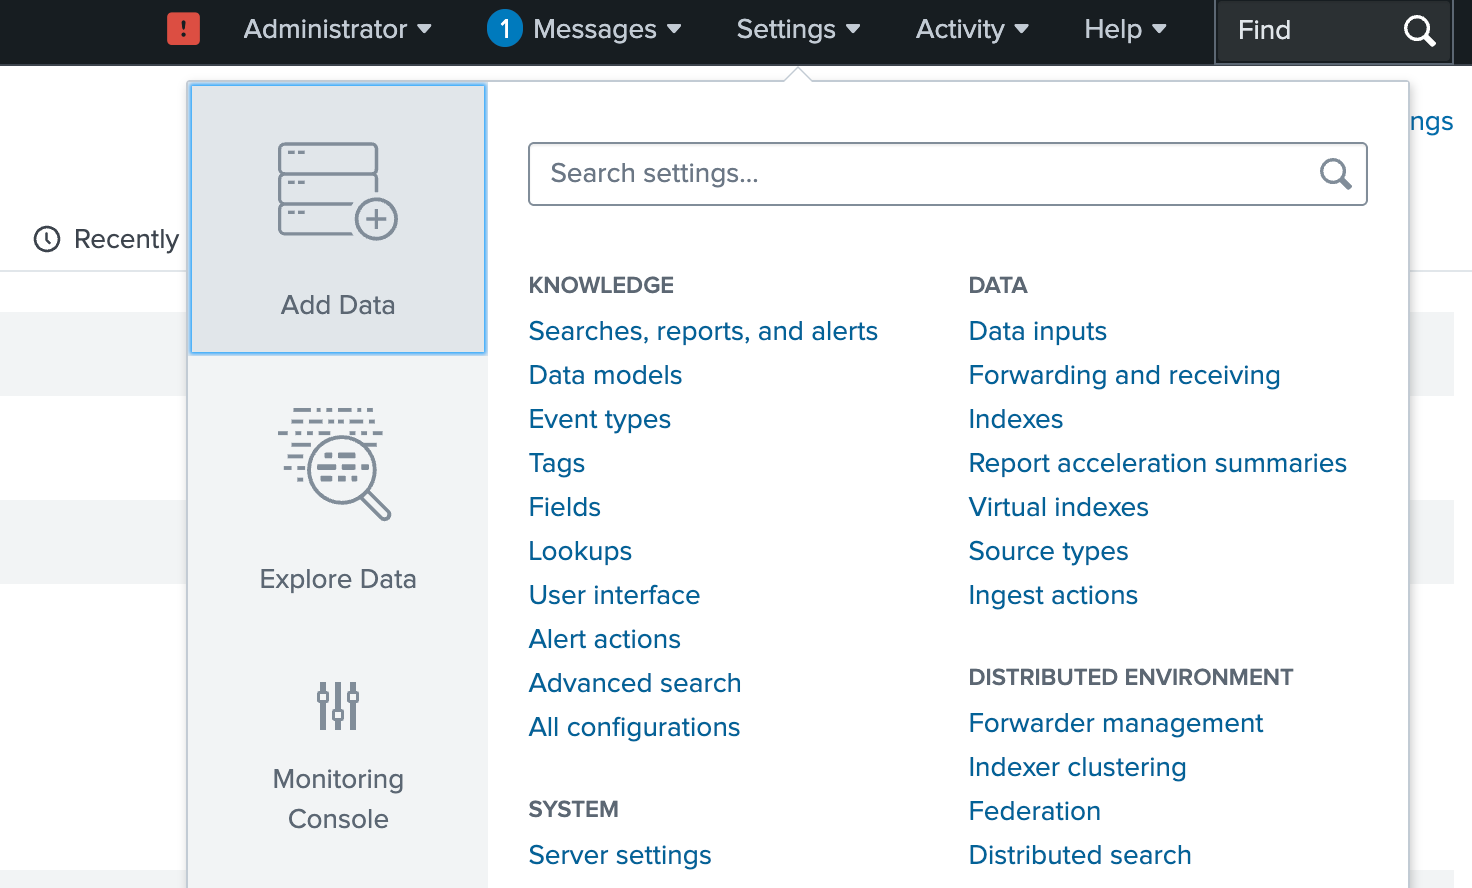
Select ‘Settings’ then select ‘Add Data’.
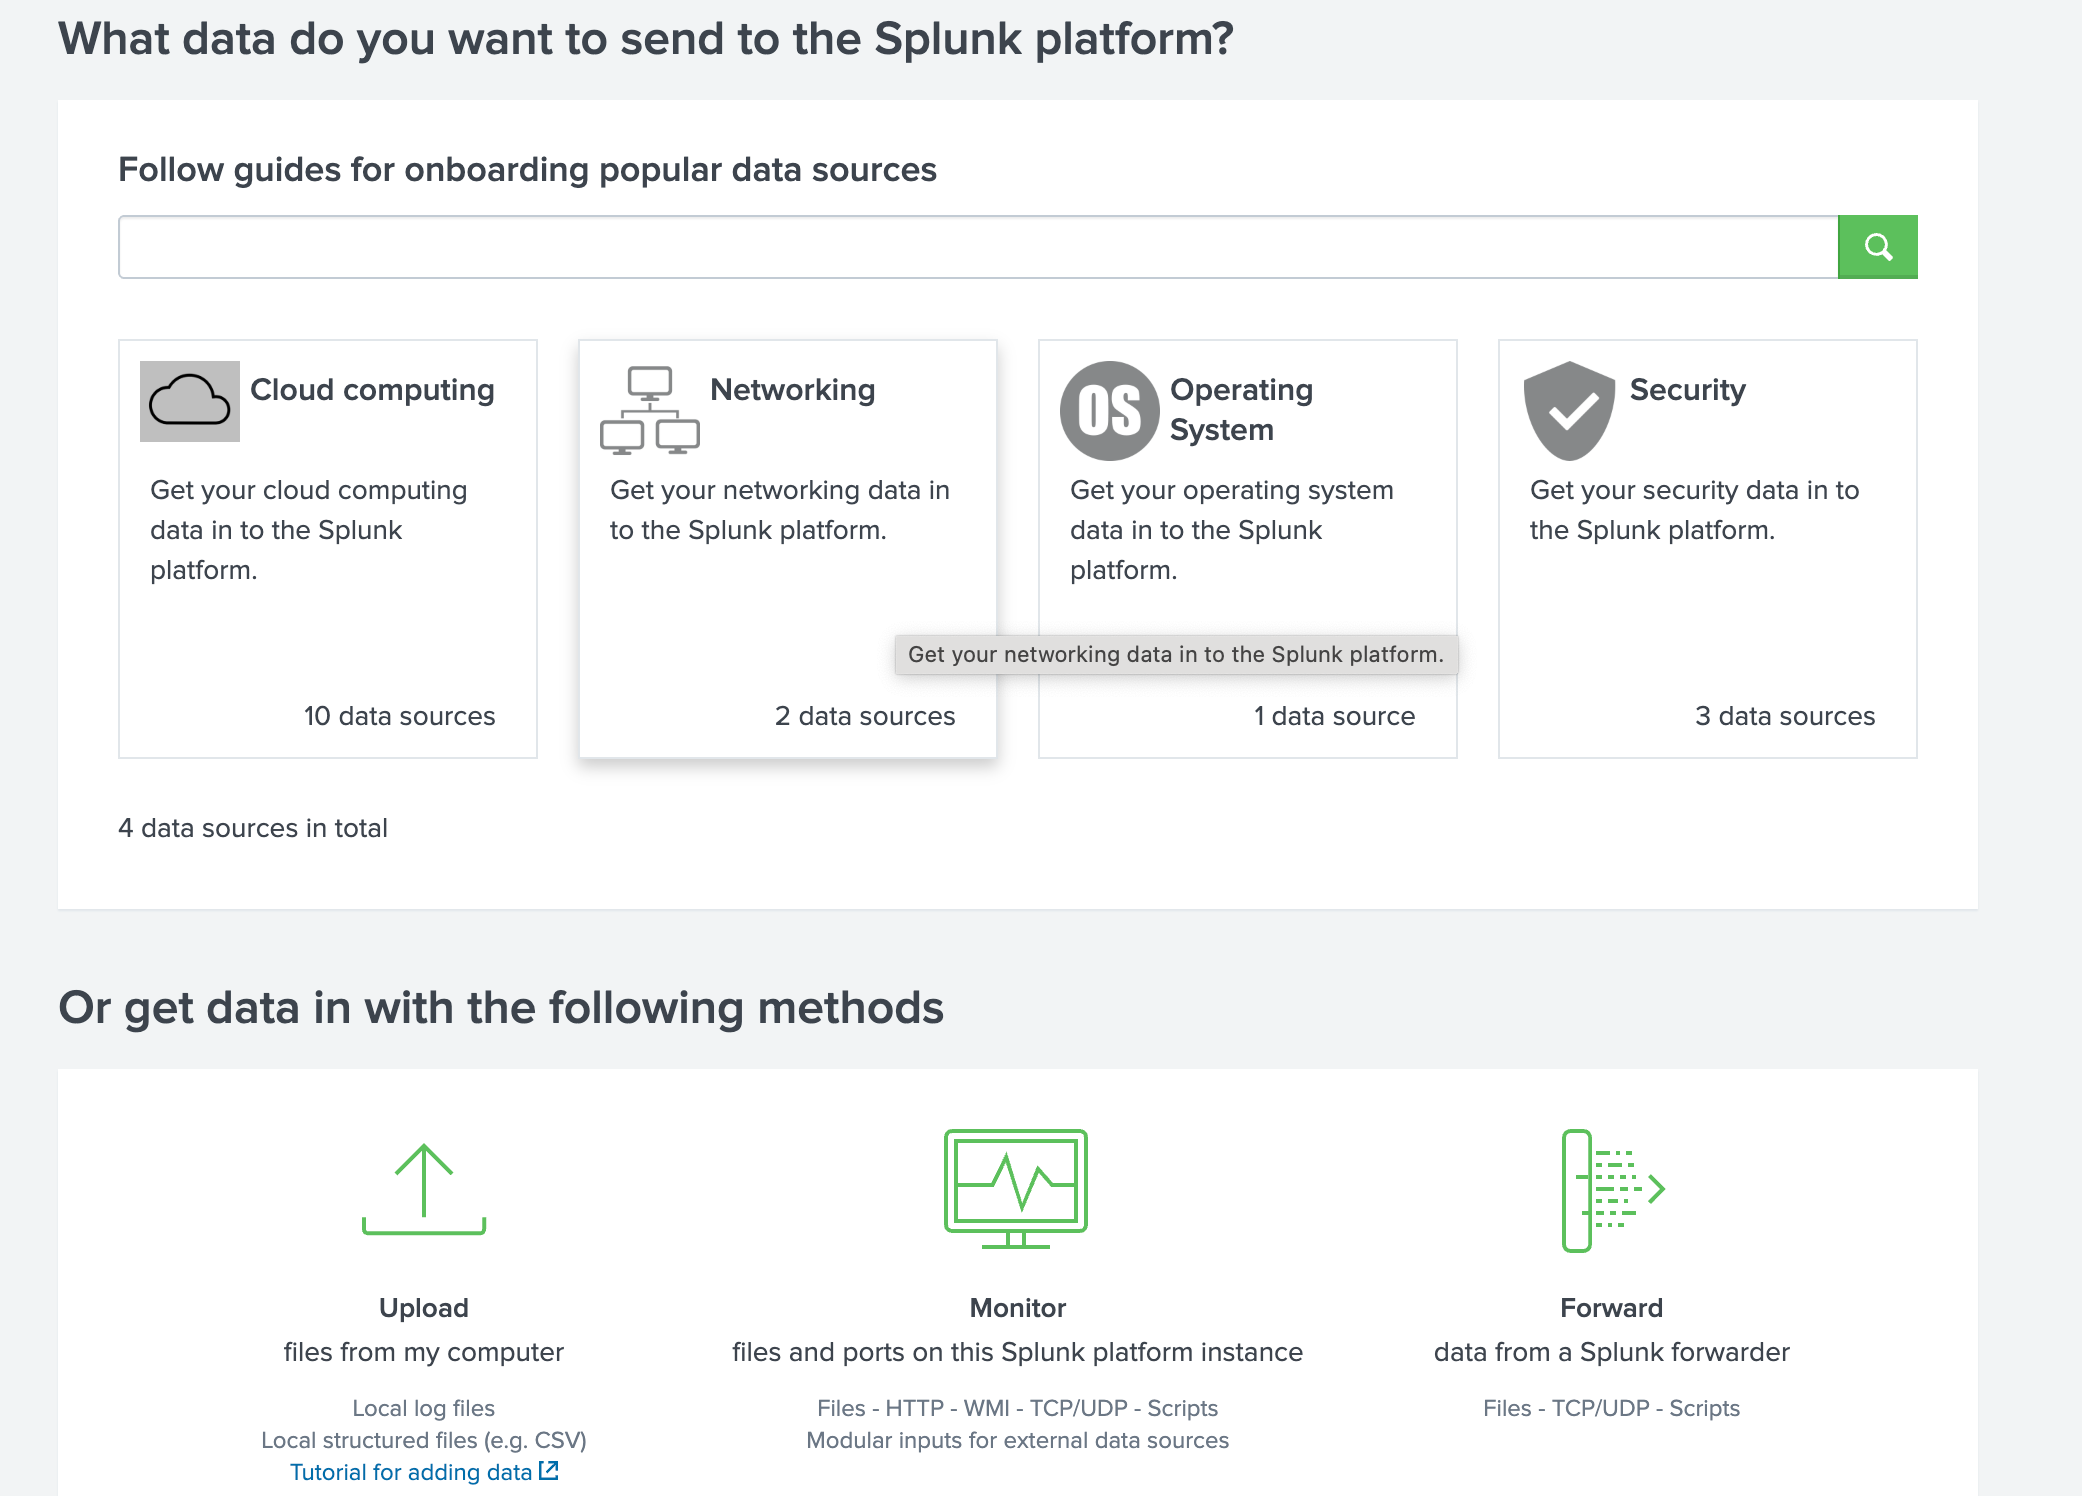
Select ‘Monitor’
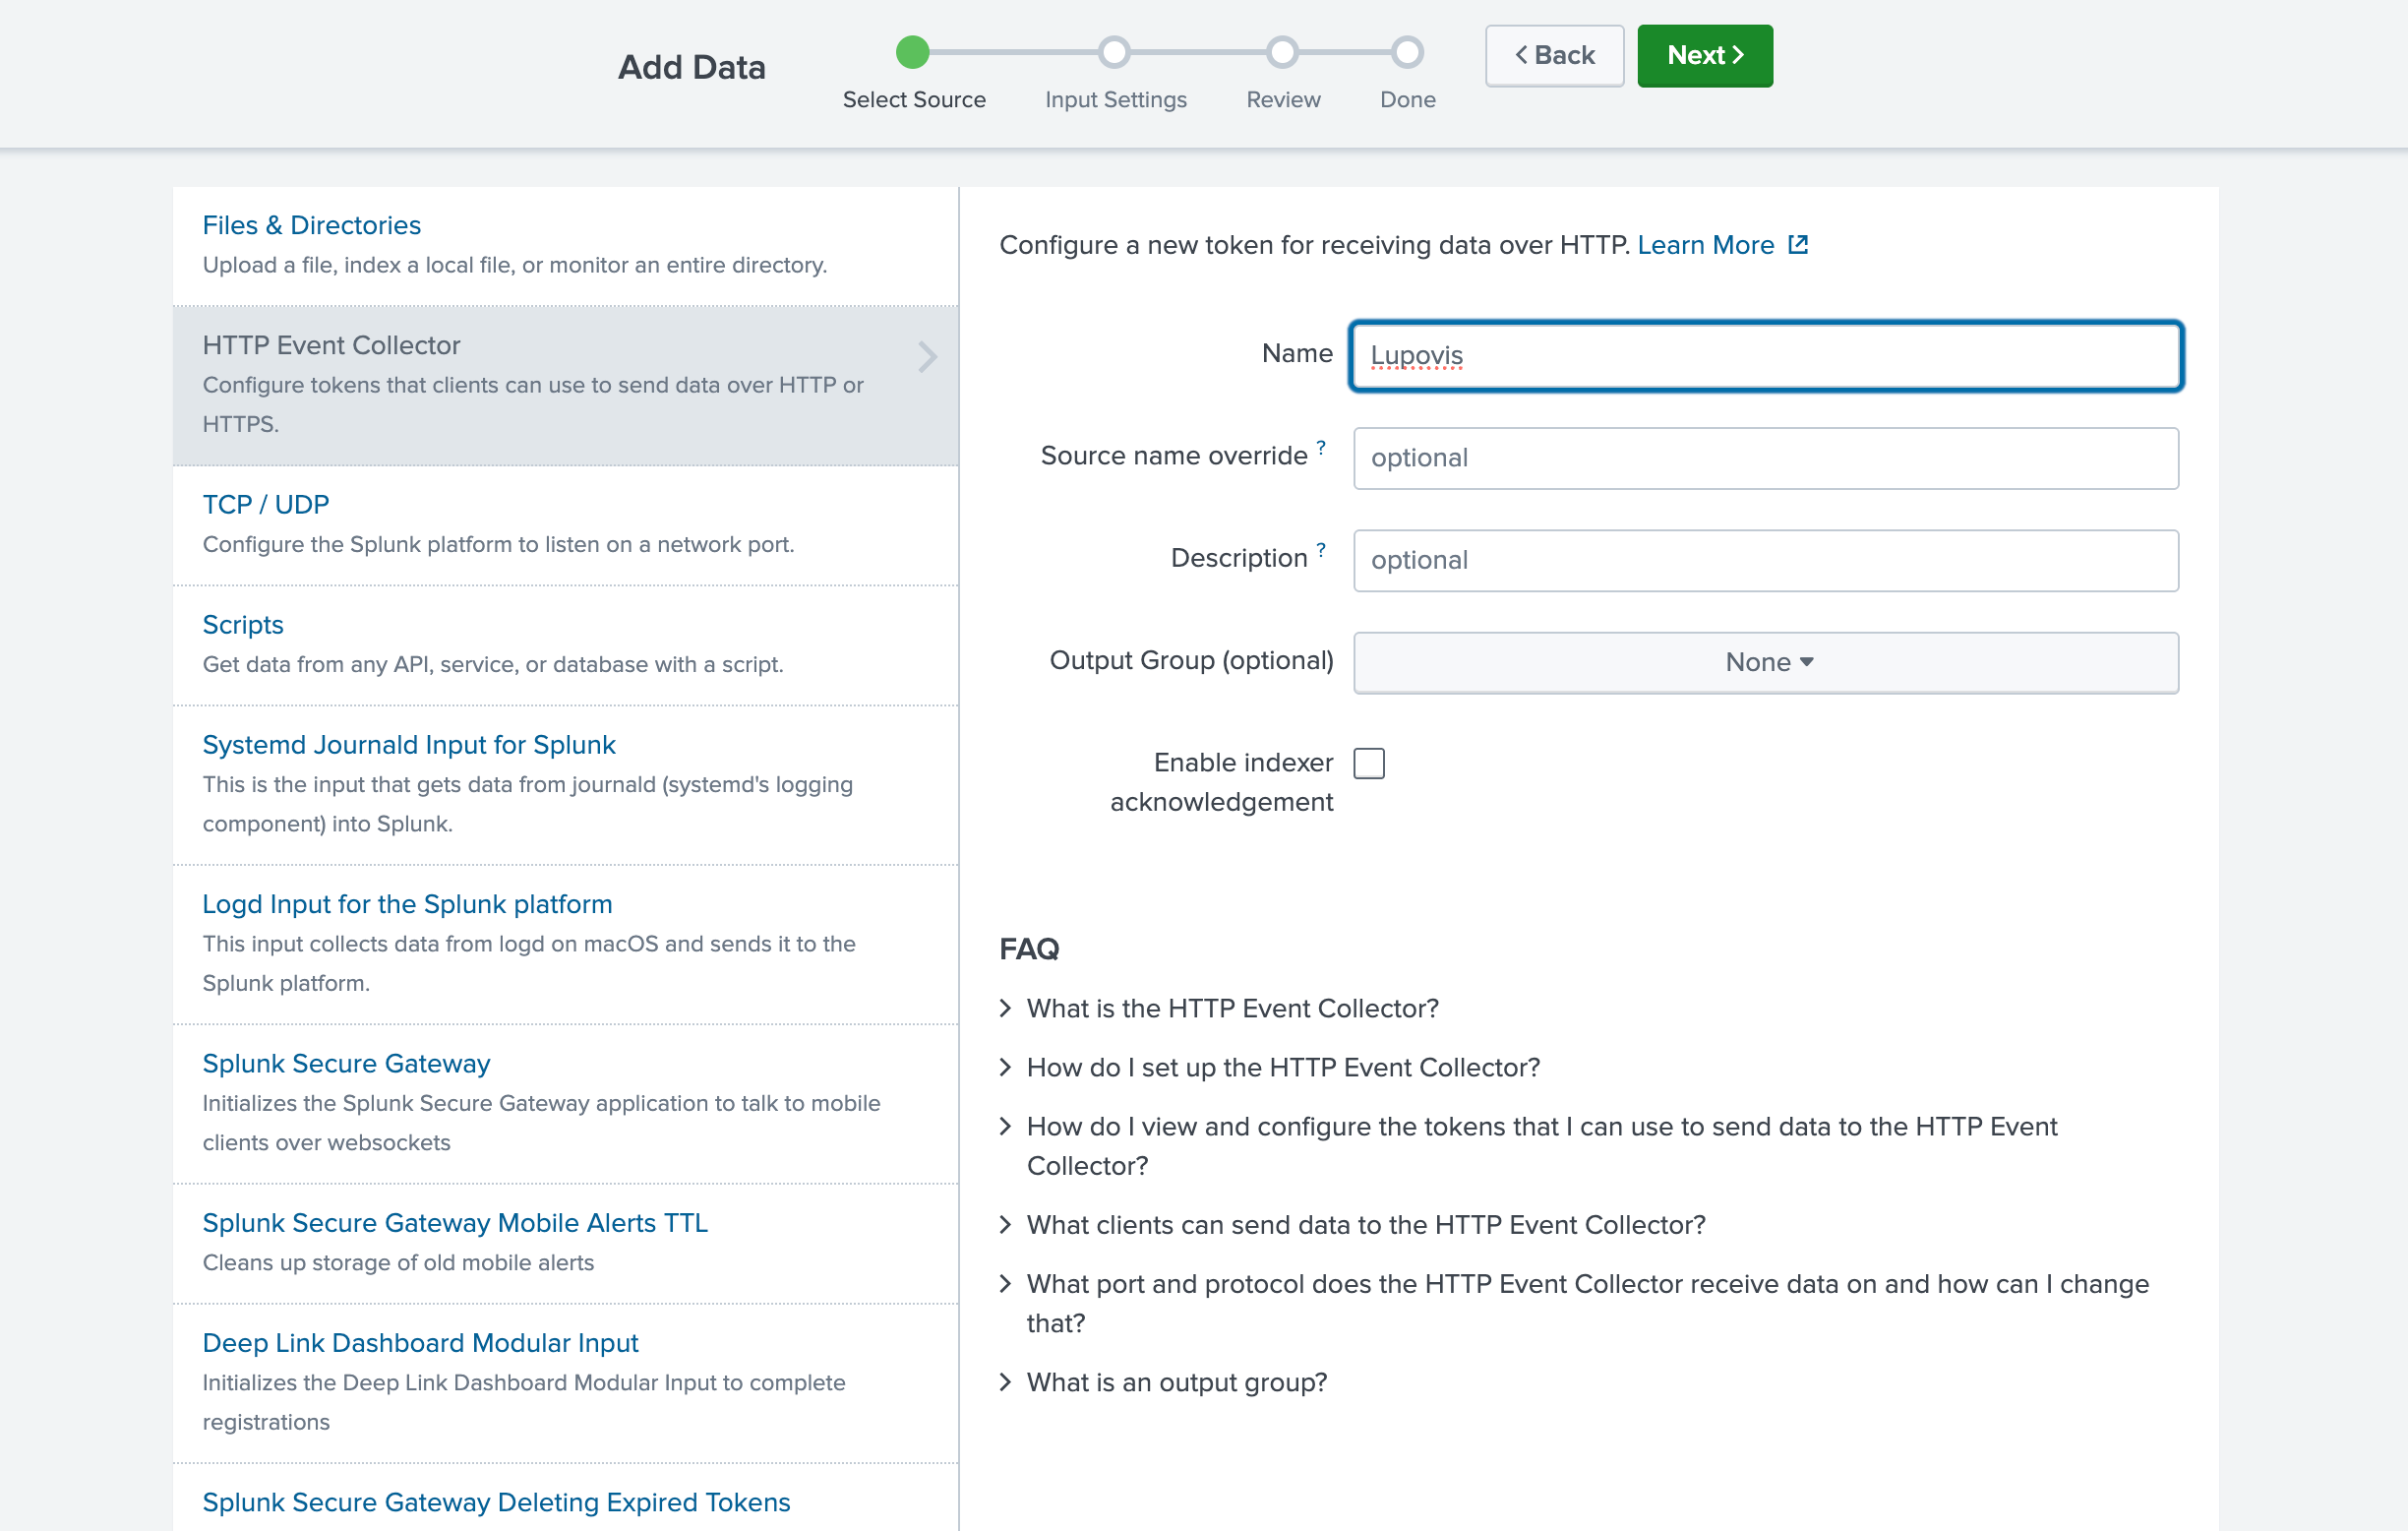
Select ‘HTTP Event Collector’,
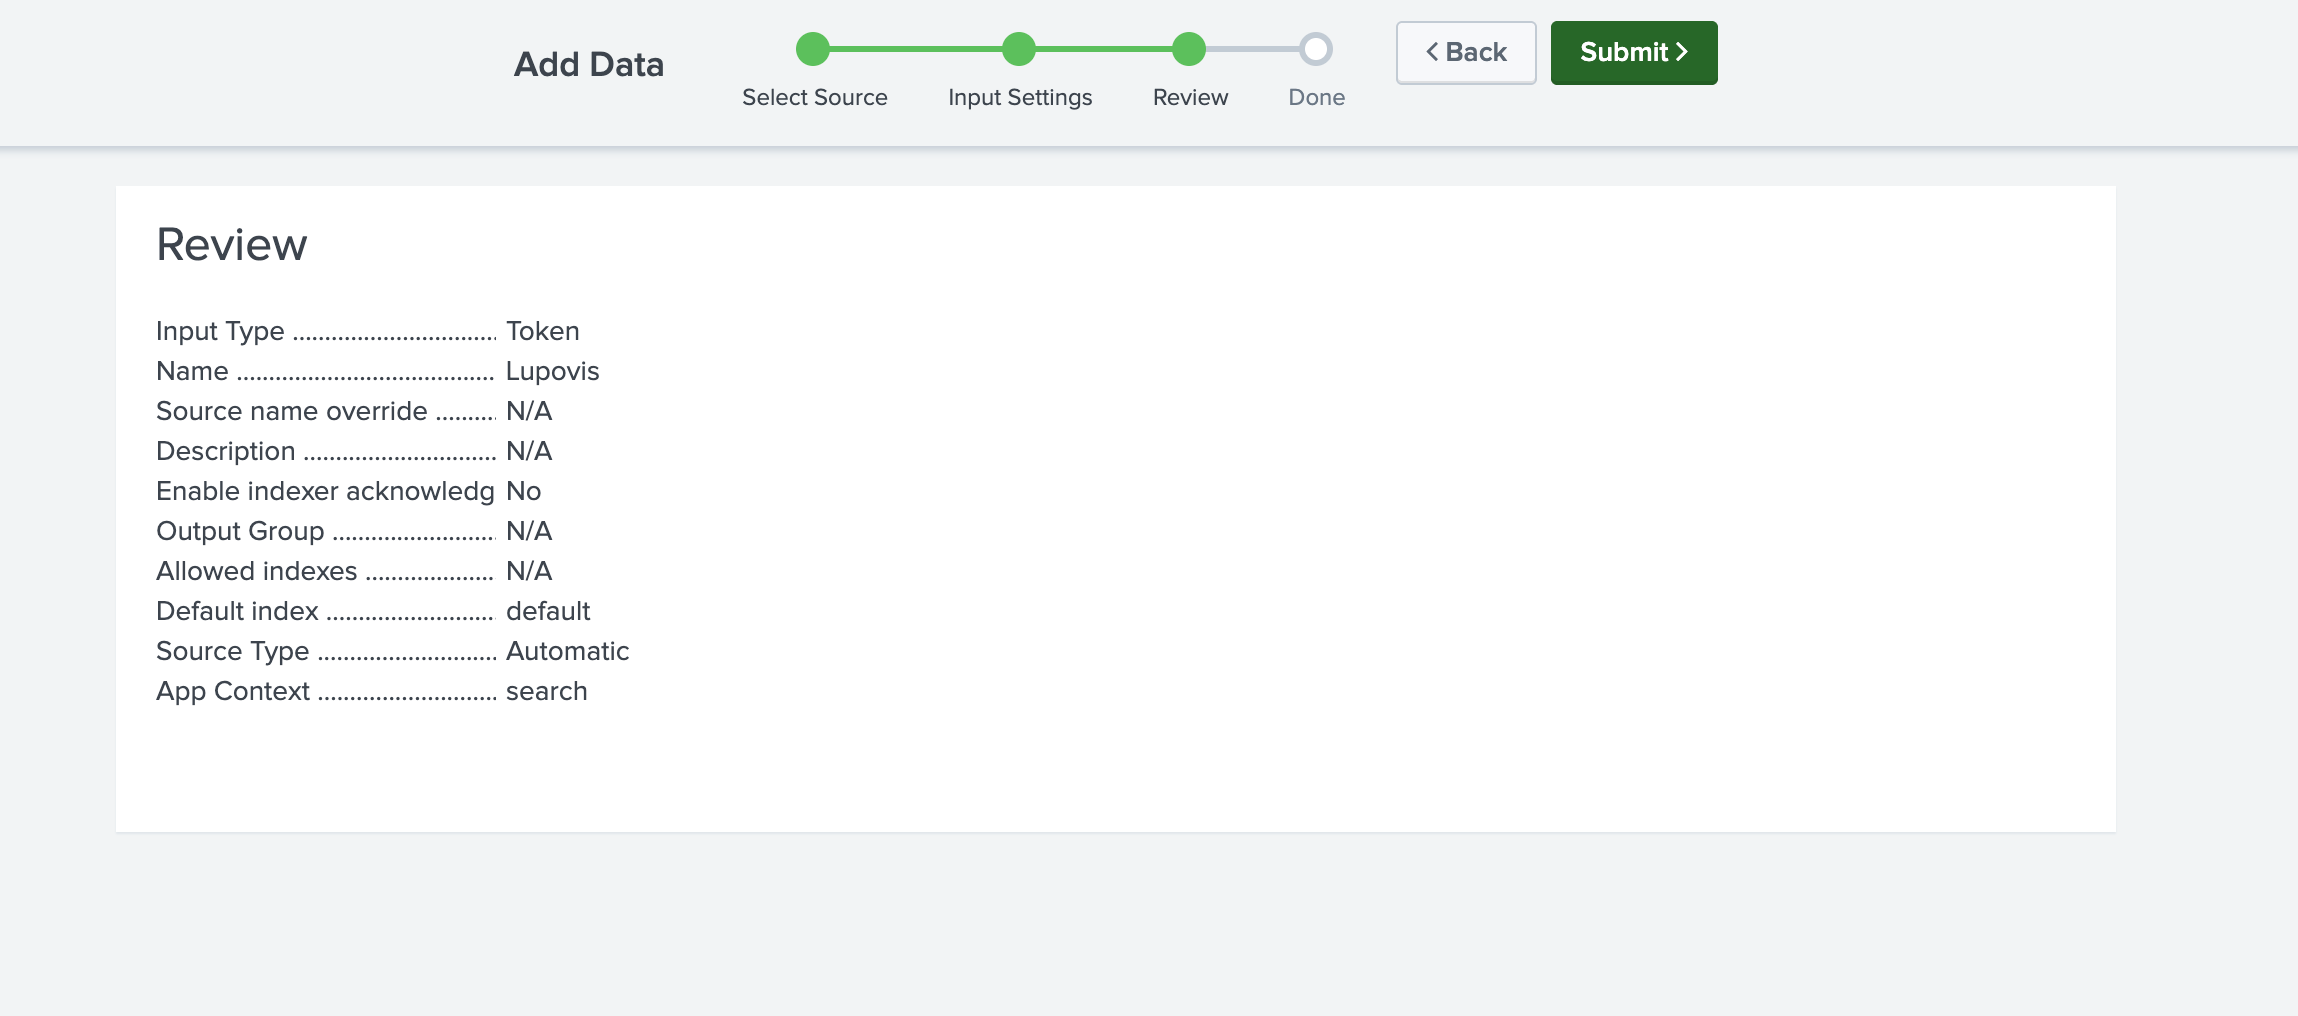
Then set the name to Lupovis and select ‘Next’
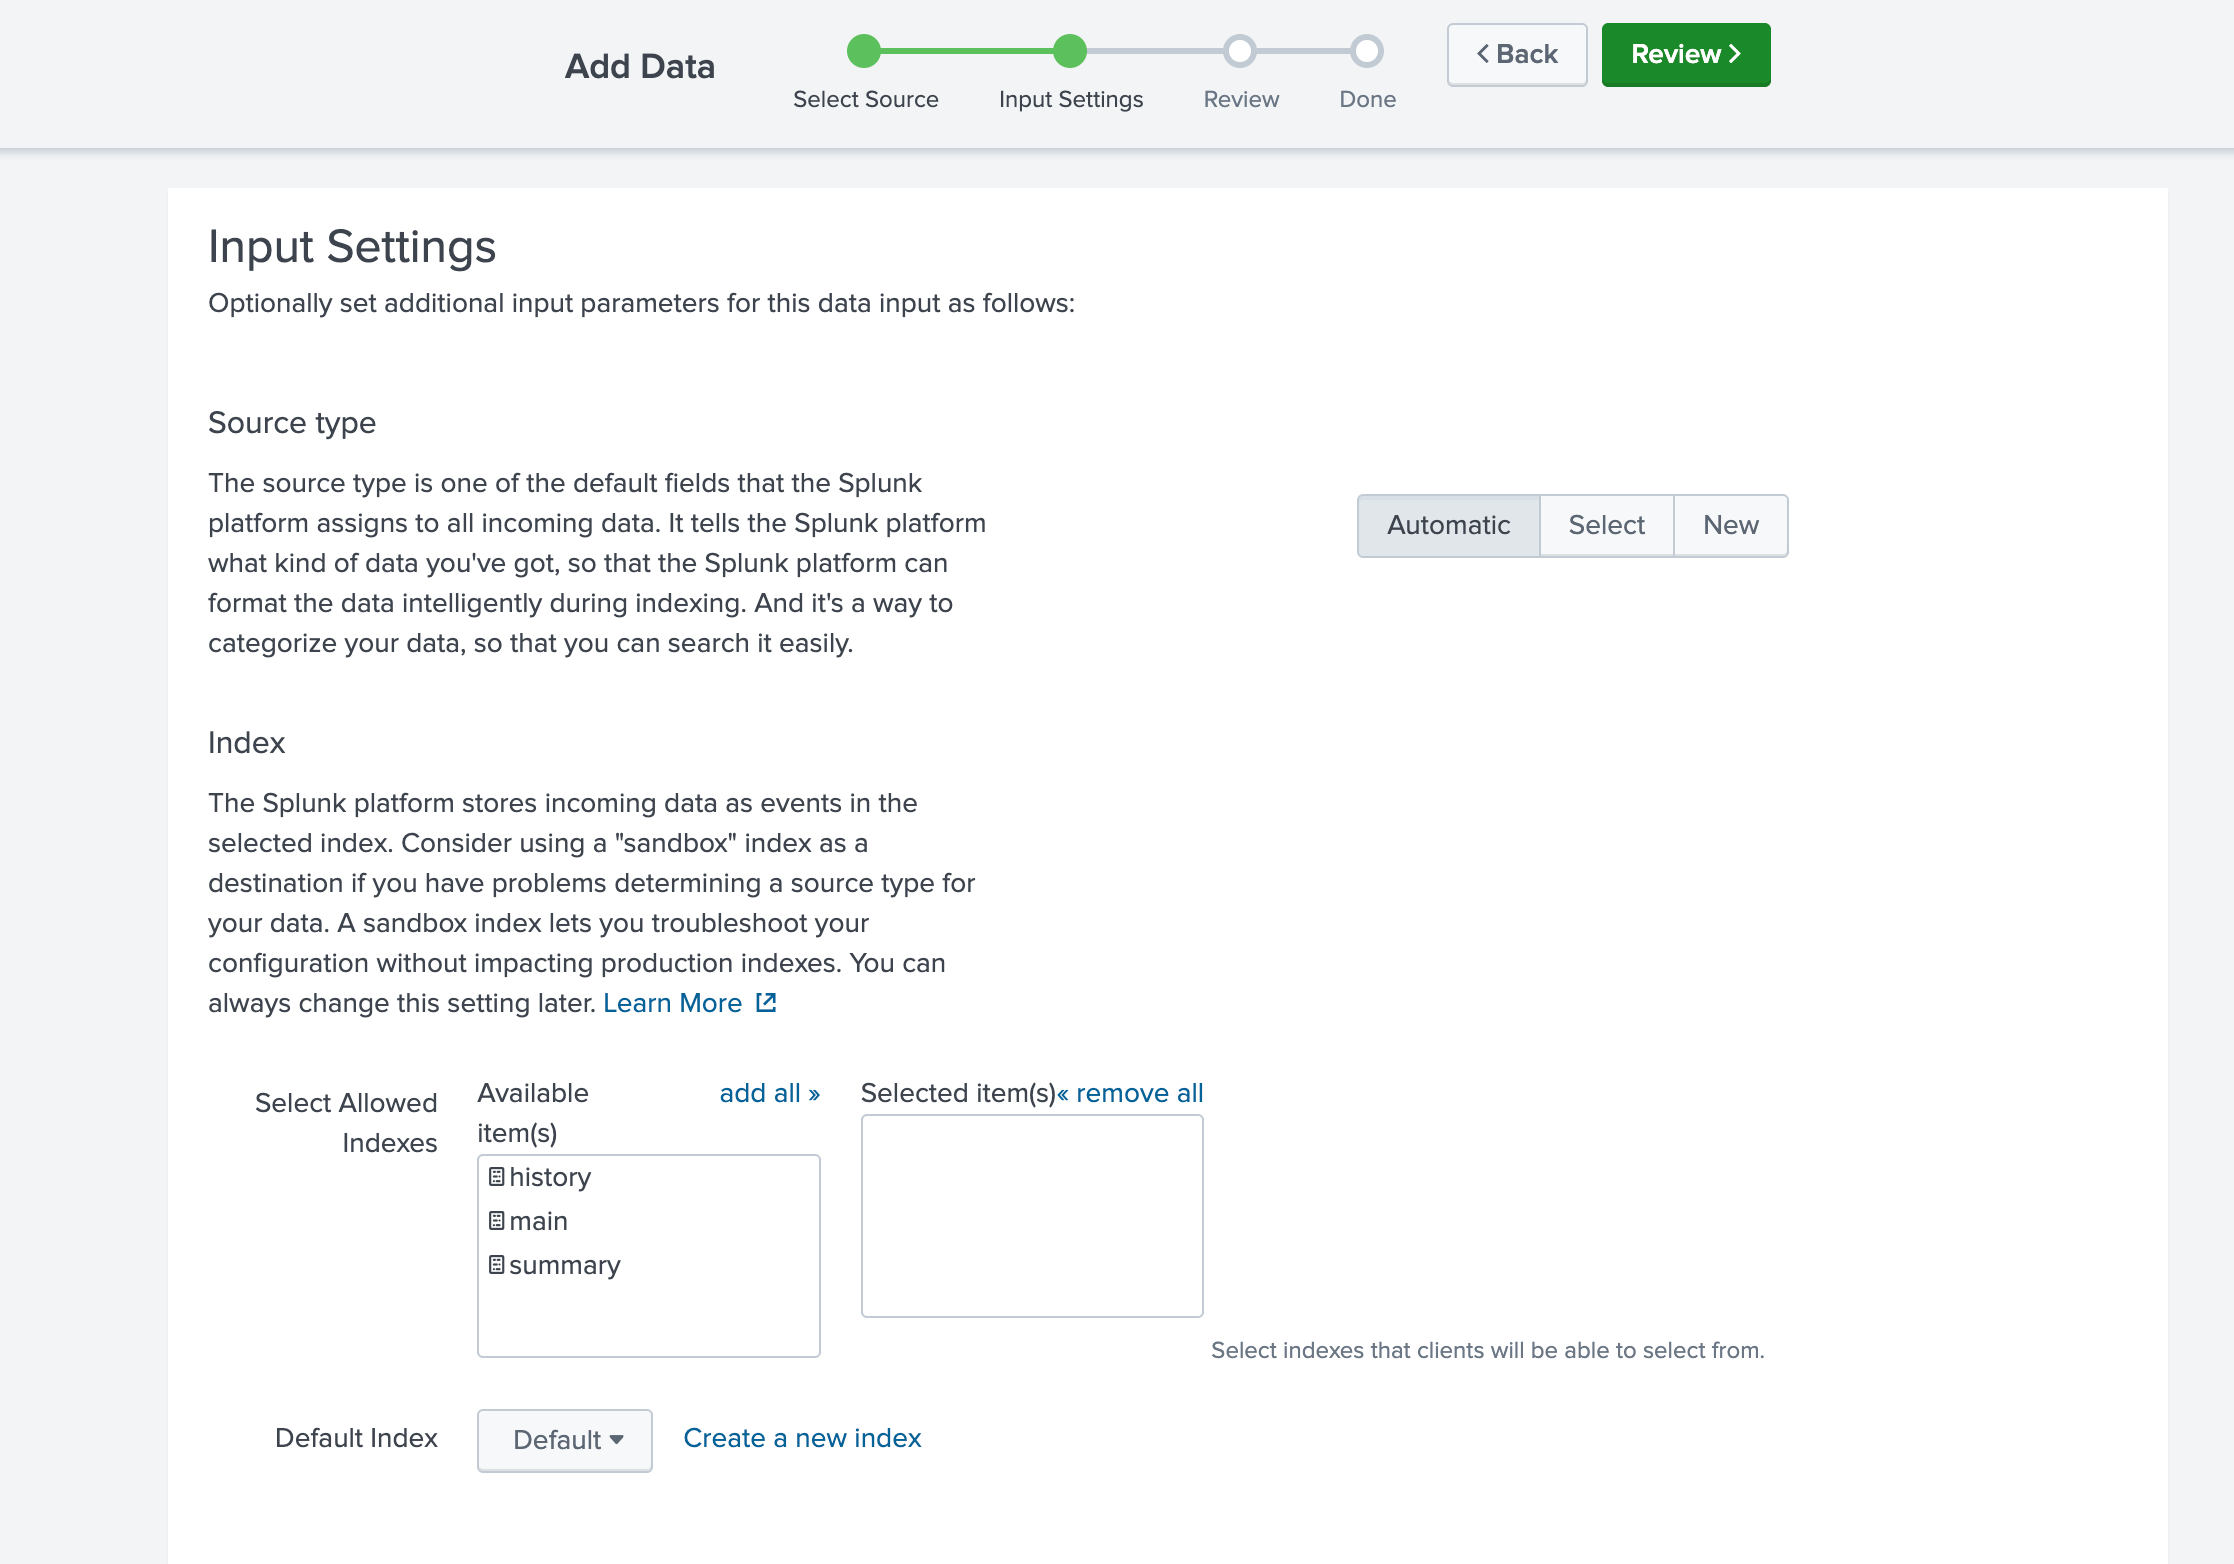
Leave the default settings and select ‘Review’
Press ‘Submit’
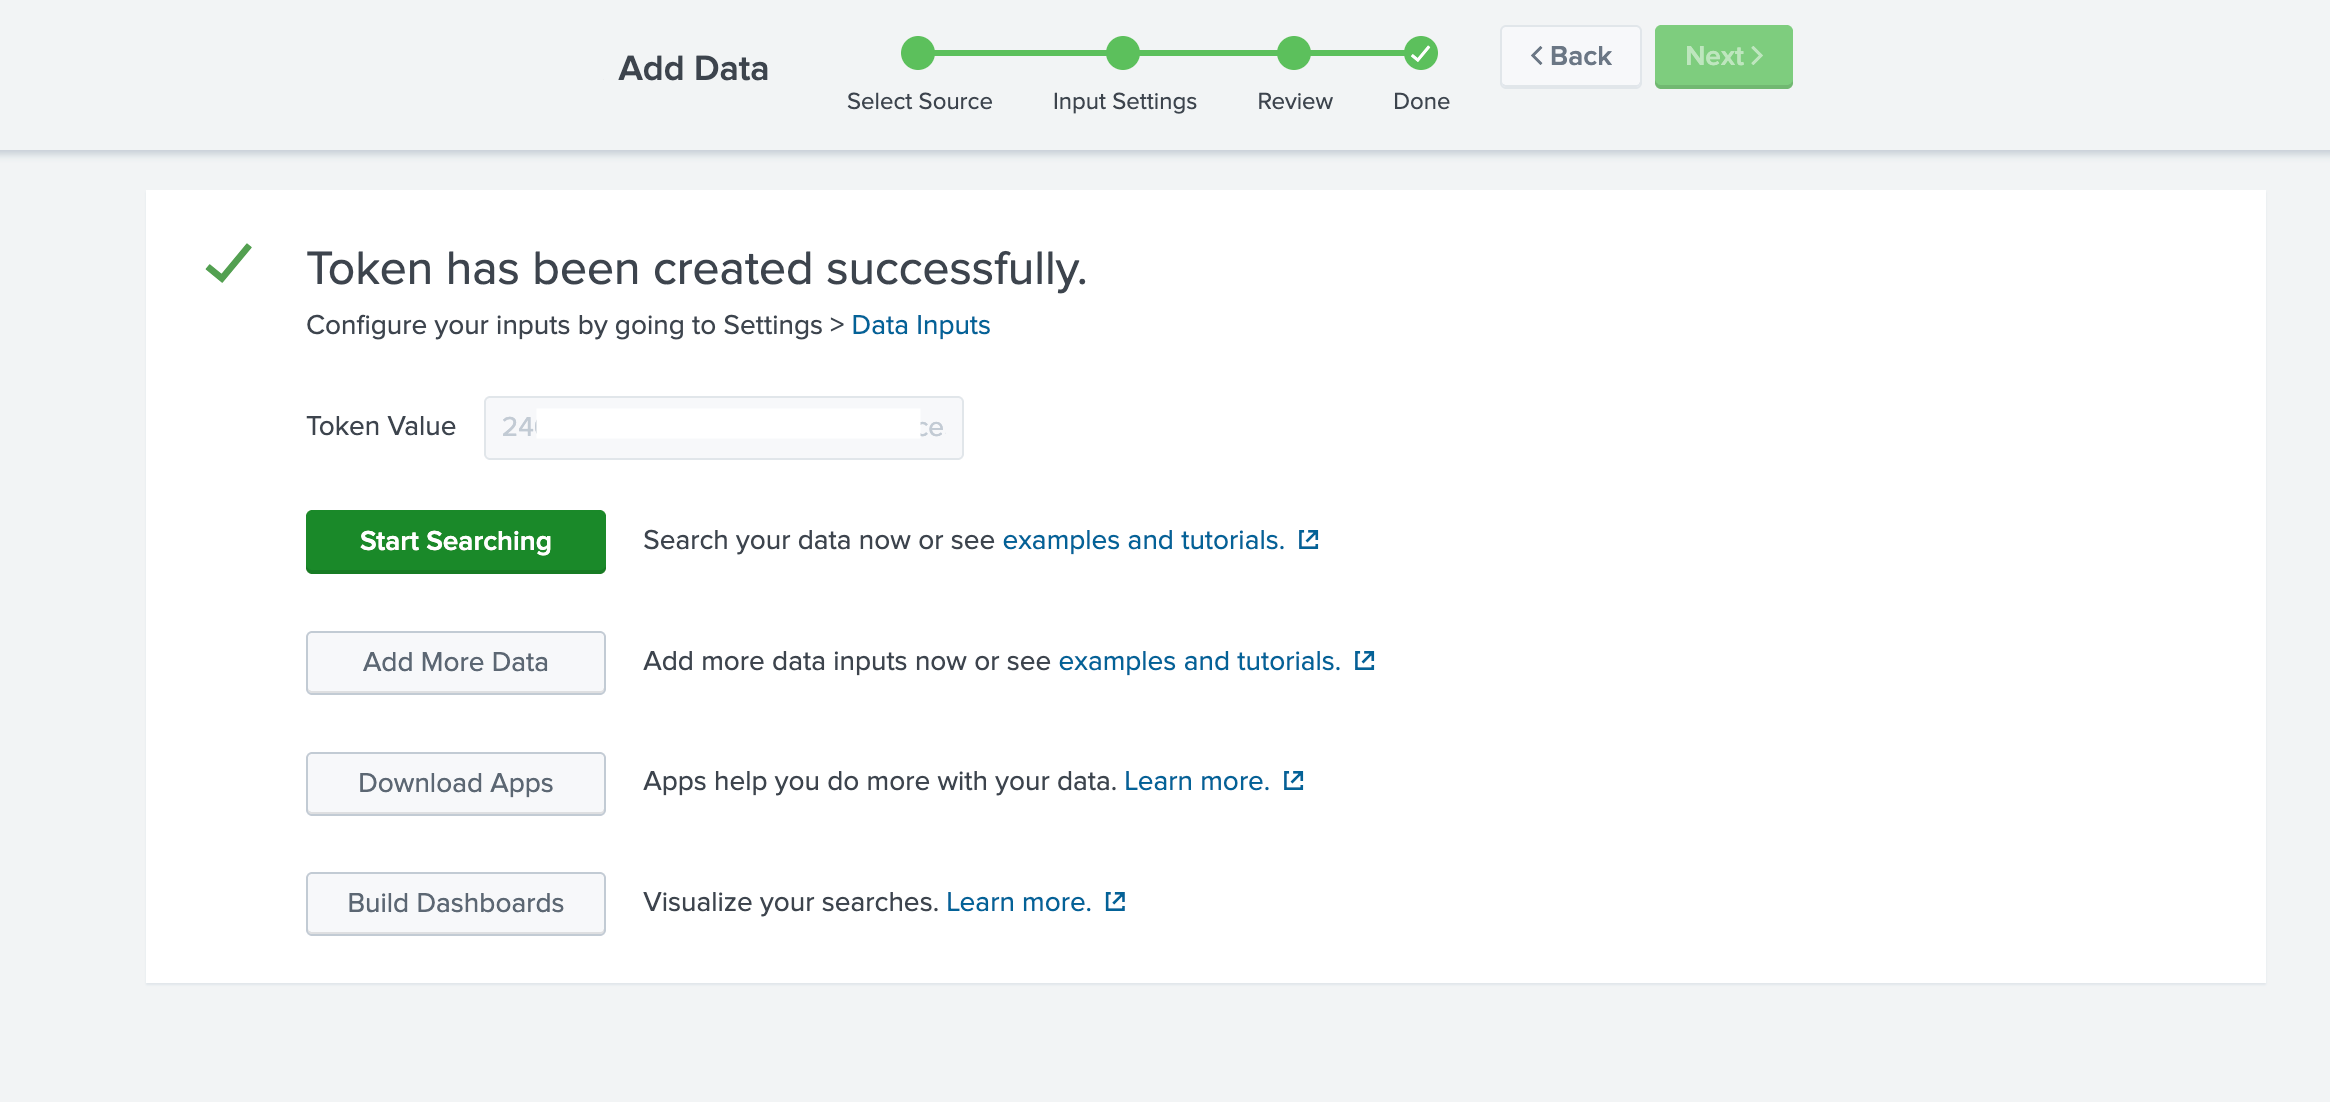
Copy the Token created as you will need it later
Adding Lupovis Data to Splunk
After obtaining the token, you can download the Lupovis data and send it into Splunk using two bash scripts: keys.sh and upload.sh.
The keys.sh script stores the authentication details for both Lupovis and Splunk. This file should be secured appropriately and adapted to match your organisation’s security requirements.#!/bin/bash
export splunk_token="<splunk token>"
exportlupovis_token="<lupovis token>"
The Second script will be responsible for downloading the Lupovis data, reformatting it to be Splunk compatible, and then uploading it to Splunk.
#!/bin/bash../keys.shsplunk_host="https://<IP Address>:8088"curl https://api.snare.lupovis.io/manage/GetAlerts?code=$lupovis_token -o alerts.json splunk_data=$(cat alerts.json | jq -c '.[] | {"event": .}' )curl -k -L "$splunk_host/services/collector" \-H "Authorization: Splunk $splunk_token" \-d "$splunk_data"
This script retrieves all attacks from the past hour from Lupovis and then sends them to Splunk. Because the attack object evolves over time, with new TTPs, CVEs, and context added as they emerge. The same IP address may appear in Splunk more than once across different runs. This is intentional to ensure Splunk always holds the most current information.
When querying, ensure you use the most recent entry for any given IP when multiple versions exist. You may need to apply and execute permissions to both the script and the keys file.
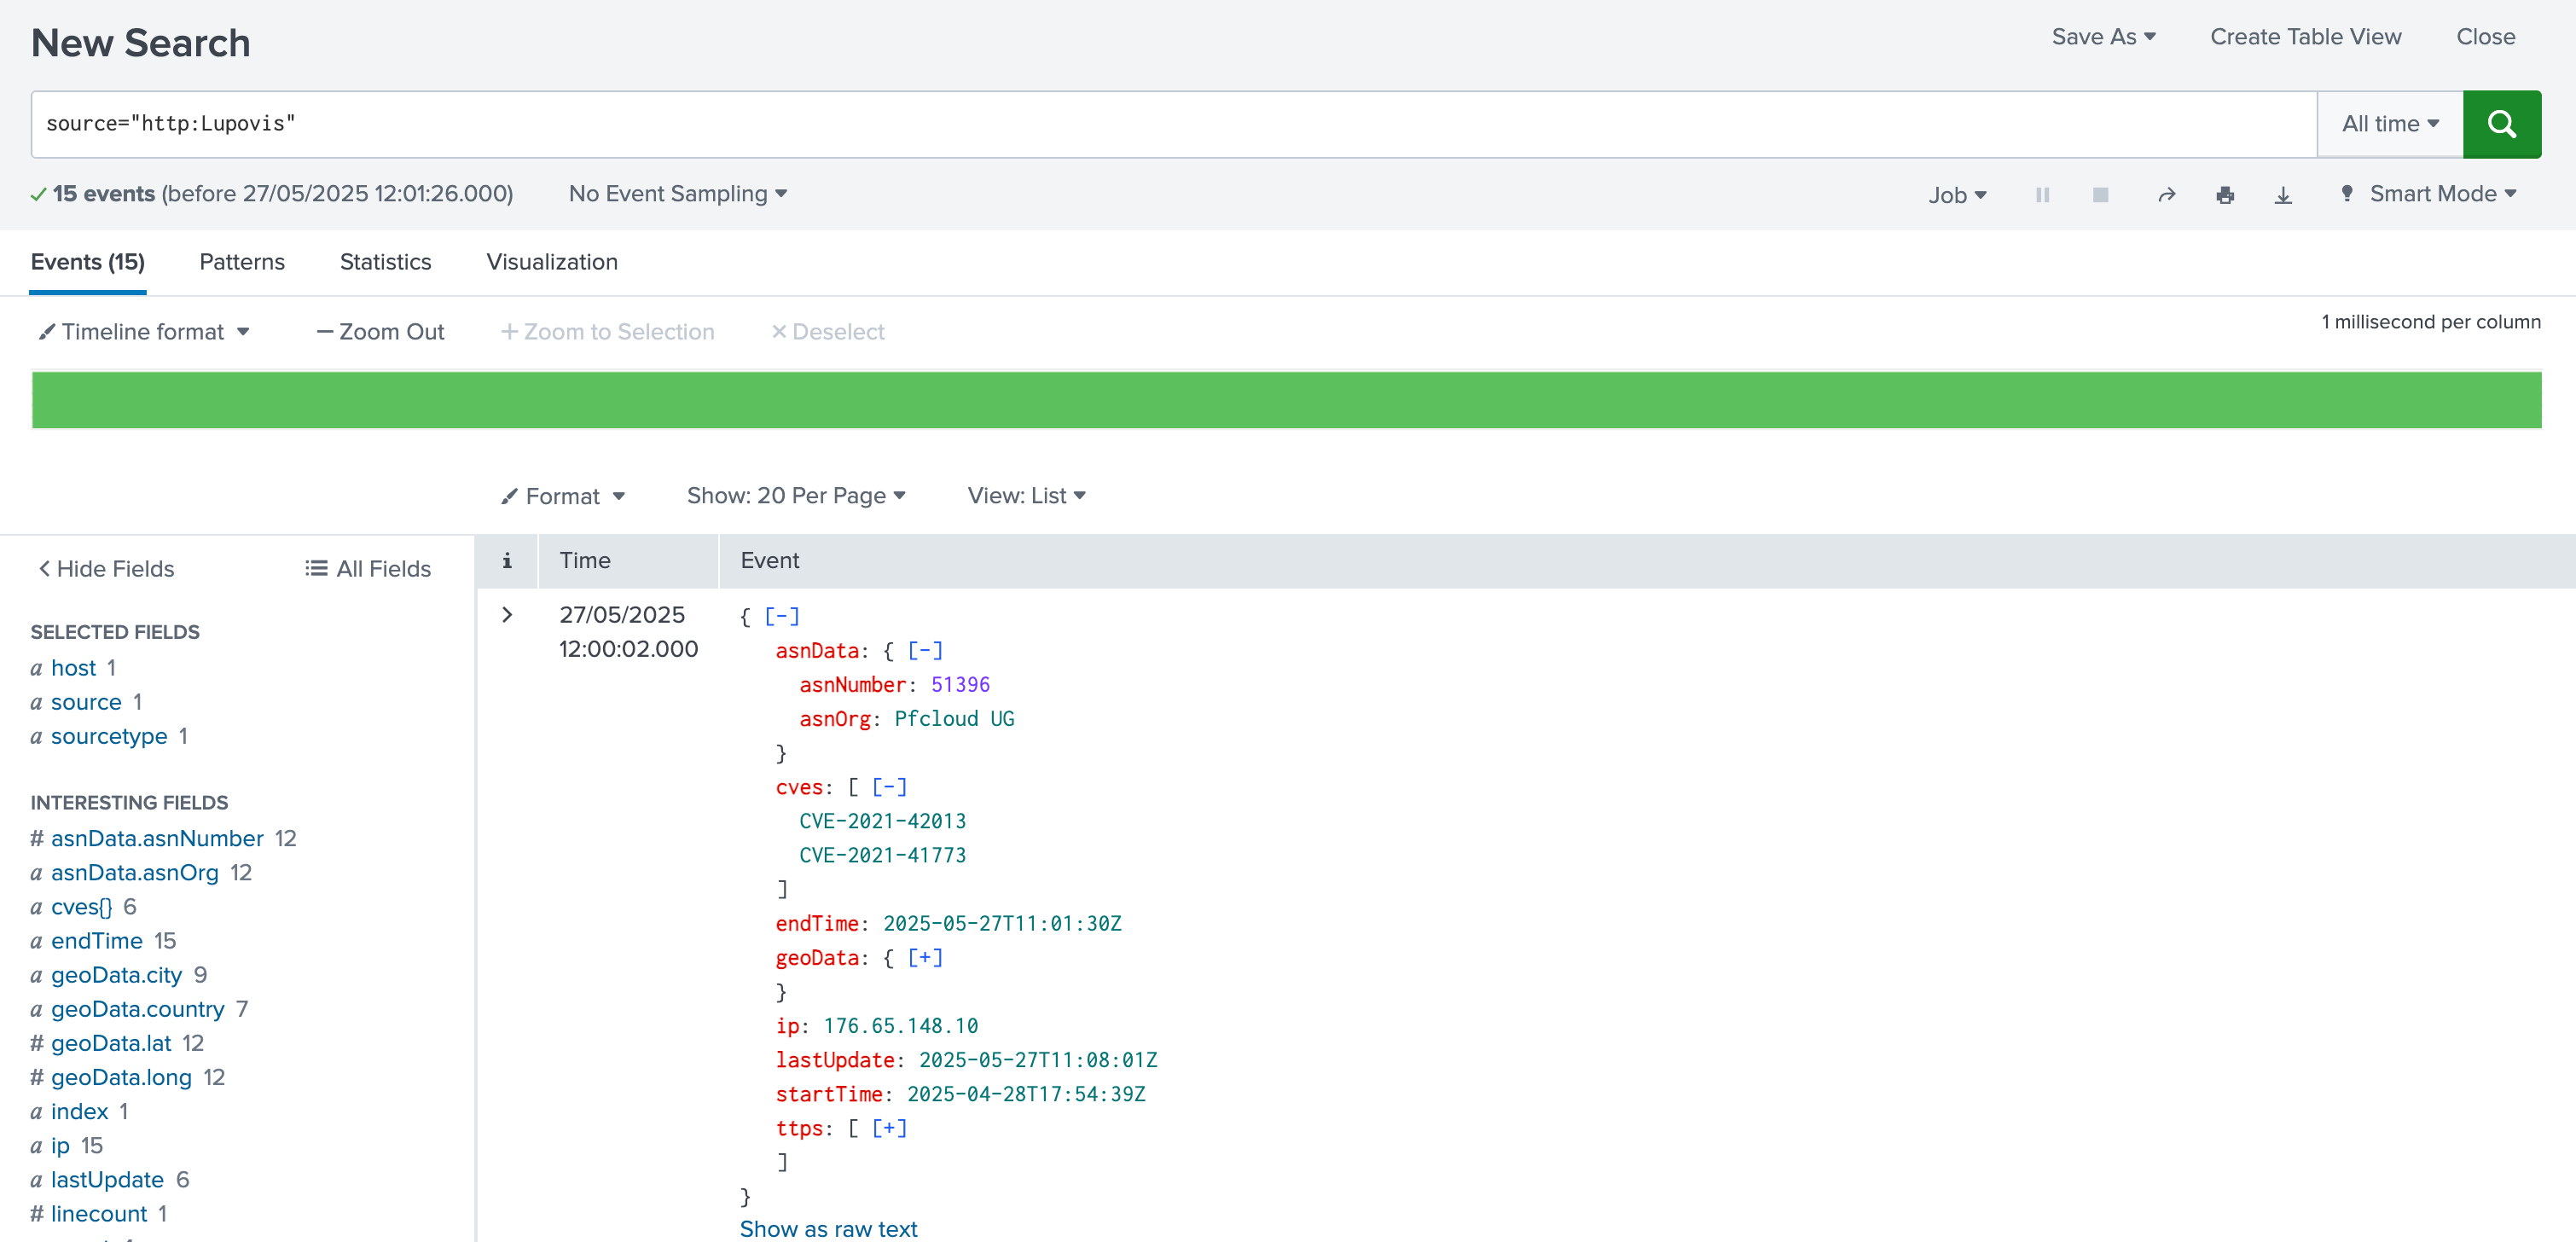
Once set up, you can run a test using the example below:

When the status indicates ‘Success’, searches can then be performed via the Splunk portal.
Automatically Updating Data
To automate the data refresh, you can schedule the scripts using crontab. This will execute them every hour to ensure the data remains up to date. The frequency can be adjusted to suit your environment, although hourly updates are recommended for external threat intelligence.
Below is an example crontab entry that runs the script on the desired schedule:

Once the crontab is in place, the data will refresh every hour on the hour, unless you choose to change the schedule. The script also writes the latest status message to a log file. You can adjust this behaviour if you prefer to keep a continuous log instead.
Was this helpful?
Still need help? Share an idea