Lupovis Deployment Guide
Written By XavierBe
Last updated 12 months ago
Core Features
Cloud Management solution to centrally manage multiple appliances.
Availability of virtual deception appliances.
Multiple IPs and VLANs agnostic
Integration with SIEM products (Splunk, Azure Sentinel, ELK, etc).
Configuring customized data on the deception assets.
Collection of events and data for analysis
Dashboard to visualize attack information.
Provision to view and query for attack information.
Terminology
Sensors: These are docker containers running on the virtual machines deployed within the network. The sensor poses as faux services and targets for bots, in-network threats and APTs. The sensor service engages adversaries and compromised endpoints when they attempt lateral movement on your network. This enables you to identify and track the actions of these malicious endpoints, as well as to prevent data exfiltration.
HoneyServer: These are the virtual machines running docker and enabling the sensors. These virtual machines are deployed on your infrastructure, either internal or public facing.
🔥 Note: Various versions of Ubuntu and Red Hat are supported; however, Ubuntu 22.04 is still the recommended operating system.
Cloud Management Interface – The cloud management interface is the interface hosted in Microsoft Azure. The interface is used to deploy, configure, and manage access to the sensors deployed within your network, cloud or operational infrastructure.
Requirements
In order for the Lupovis sensors to communicate with the cloud management interface, various outbound connections must be authorised.
Backend APIs
https://prd-lupovis-auth-api-as01.azurewebsites.net
https://prd-lupovis-hp-pair-api-as01.azurewebsites.net
https://prd-lupovis-hp-read-api-as01.azurewebsites.net
https://prd-lupovis-hp-write-api-as01.azurewebsites.net
https://prd-lupovis-ui-read-api-as01.azurewebsites.net
https://prd-lupovis-ui-write-api-as01.azurewebsites.net
File store
https://lupovisglobalsa01.blob.core.windows.net
https://lupovisglobalcont01.uksouth.data.azurecr.io
https://lupovisskinsa01.blob.core.windows.net
Docker store
lupovisglobalcont01.azurecr.io
Installation
*snare.lupovis.io
*github.com
*docker.io
*docker.com
*python.org
*ubuntu.com
*ubuntu.com
*.launchpad.net
<this is for apt installs - if you already have a default group for this, that can be used instead>
🔥 Note: For RHEL installs, RHUI is also required, further details can be provided upon request.
Deployment
Provisioning Virtual Machines
In order to deploy sensors onto the network or cloud infrastructures, virtual machines must be provisioned. This allows security teams to target particular subnets or areas of the network they believe may require more or less attention.
🔥 Note: The virtual machines must be provisioned individually (i.e., the virtual machines cannot be replicated)
🔥 Note: The virtual machines provisioned must be running a vanilla version of Ubuntu server 18.04 or newer, or with prior agreement version 8 of Red Had
Once provisioned, log onto the cloud management interface and execute the linking procedure:
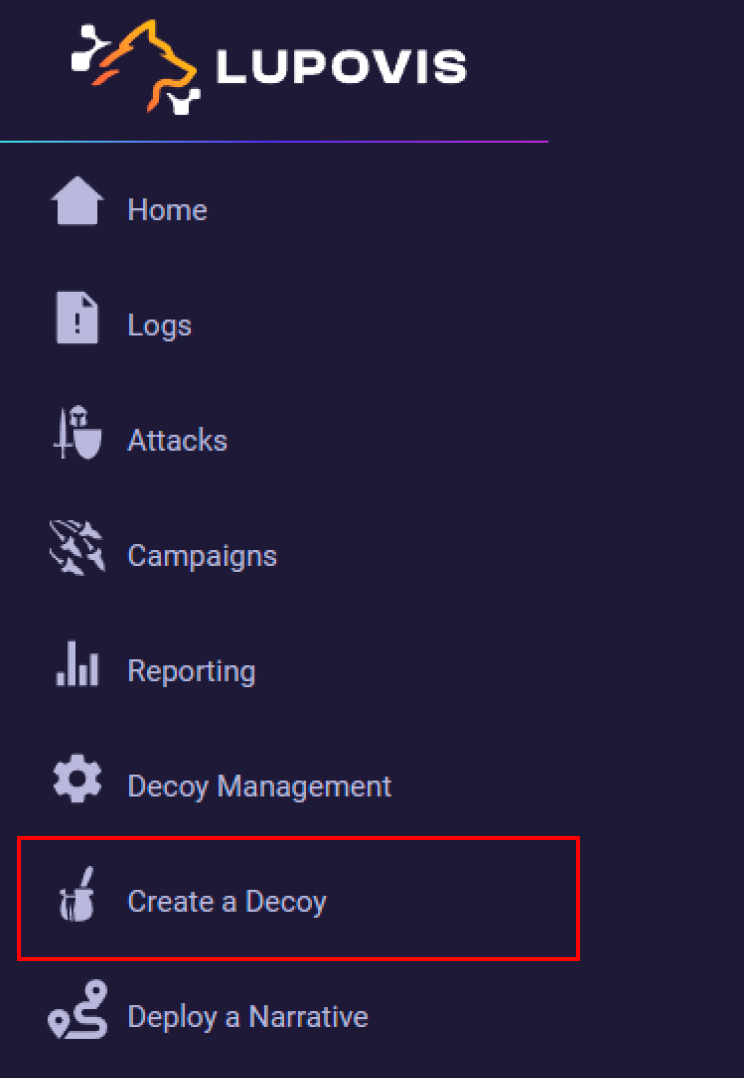
On each of the virtual machine, run the command as displayed in the portal.
🔥Note: For Red Hat the second pairing command is different to what is displayed in the portal, in this instance, you can request it through the help section.
Once fully executed, the sensor will be linked with the cloud management interface and will automatically appear in “home”.
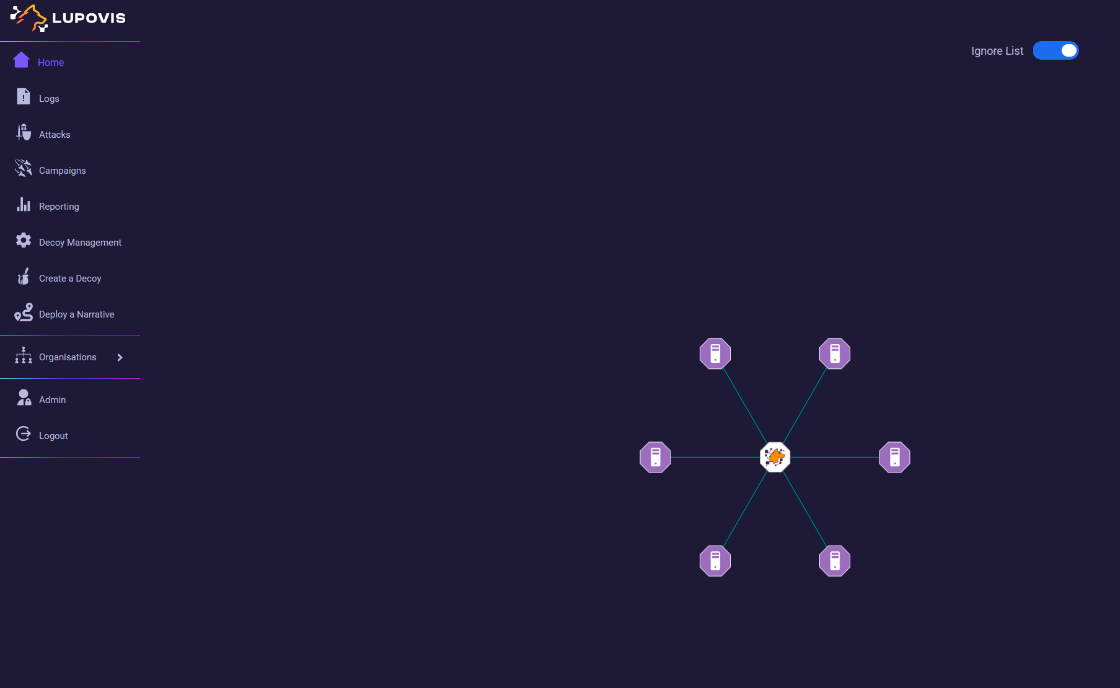
The sensors are now ready for use and will start emitting alerts when tripped. Individual interactions can be viewed within the ‘Logs’ page, with more details being displayed within the ‘Attacks’ page, as shown below
Was this helpful?
Still need help? Share an idea